Designing Fun & Easy Garden Beds Using Materials from Your own Backyard
Our herb spirals are the heart of our garden and the foundation of most of the cooking we do. There’s nothing better than the aroma of fresh herbs simmering on the stove, or sprinkled onto a fresh chopped salad.
When planting my herb spirals, I prefer to use perennials and leave the annual herbs for pots or raised beds. I do this because two of our spirals sit right at the entrance to our garden, making them the first bit of green you see when winter finally gives way to spring.
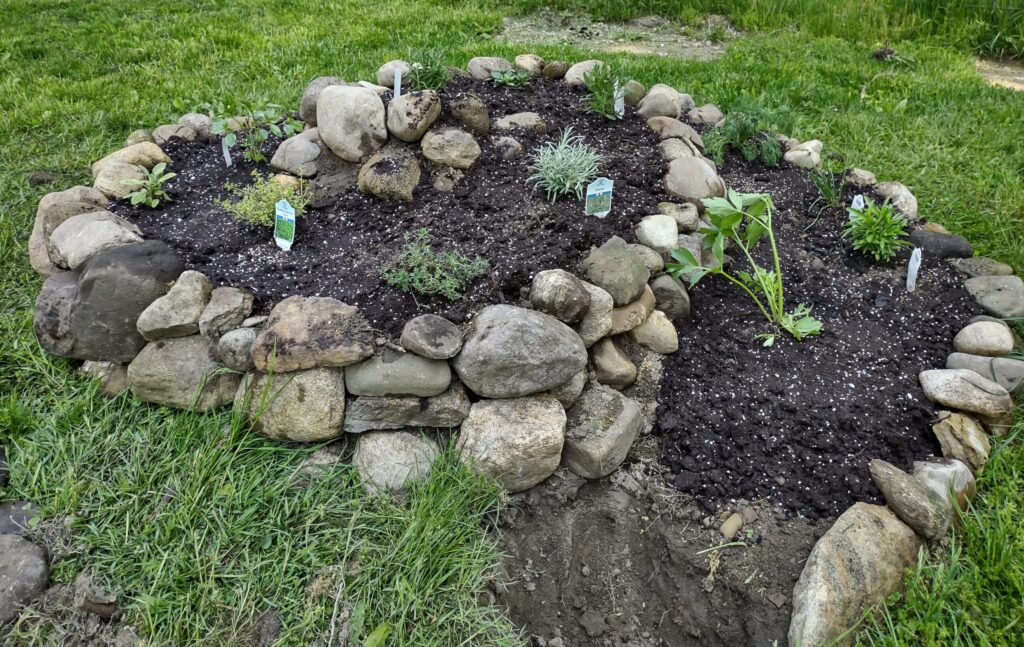
The first step in building an herb spiral is deciding what material you’ll use to create the structure. As you can see, I built ours out of dry-stacked fieldstone. That choice was driven by both convenience and aesthetics. When we bought the house, there was already a fairly sizable pile of stone in the back, and the foundation of the house itself is made from fieldstone. I’ve seen beautiful spirals built from brick, stone like ours, and even sections of logs. The choice is entirely up to you.
The next thing to consider is size and placement. Because I was working with a limited amount of salvaged stone, our first spiral ended up around five feet in diameter and about a foot and a half tall. It actually started out closer to two feet tall, but after settling through its first season, it dropped a bit. I’ve built all of our spirals to those same specs since then, and it’s worked well.
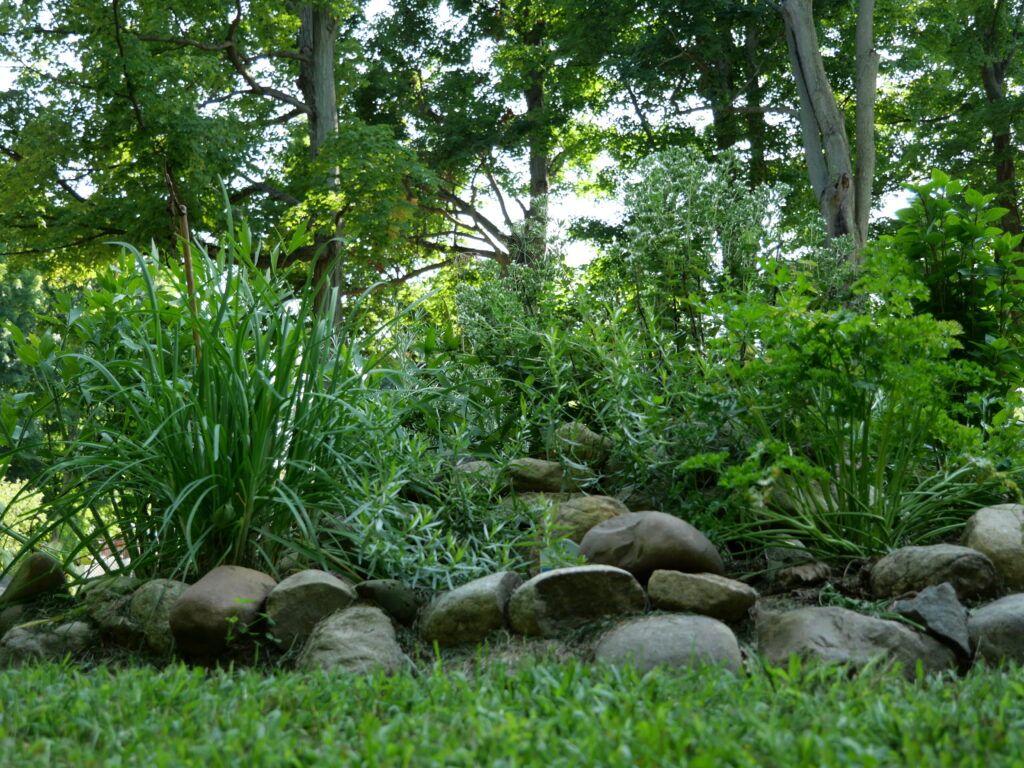
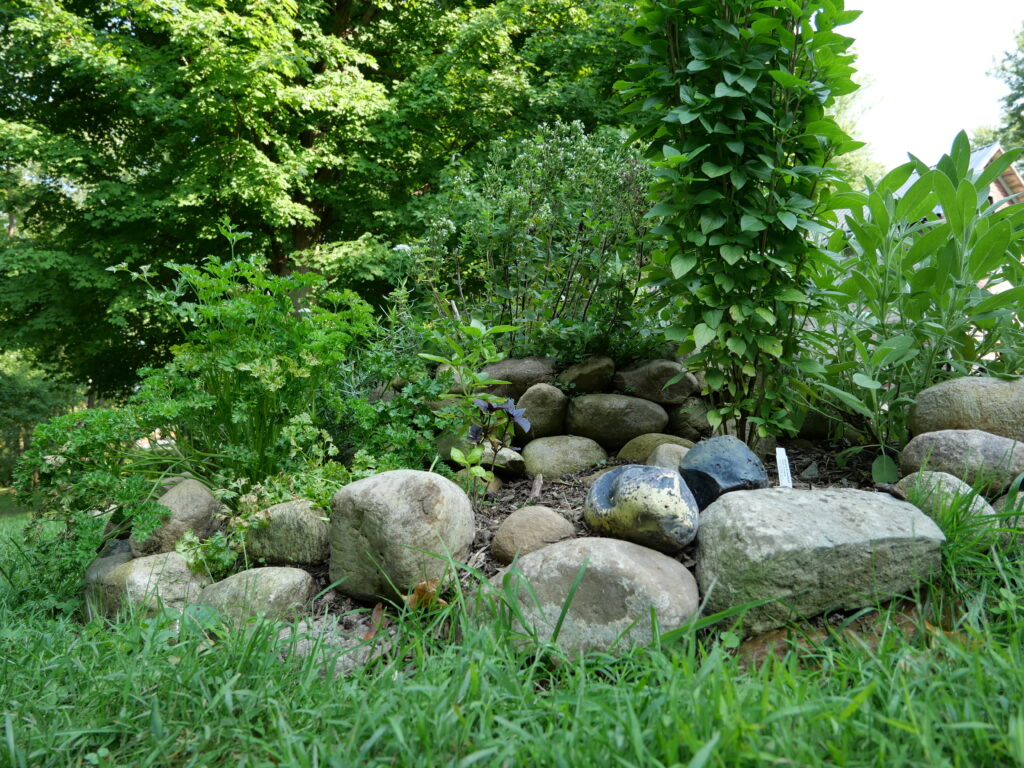
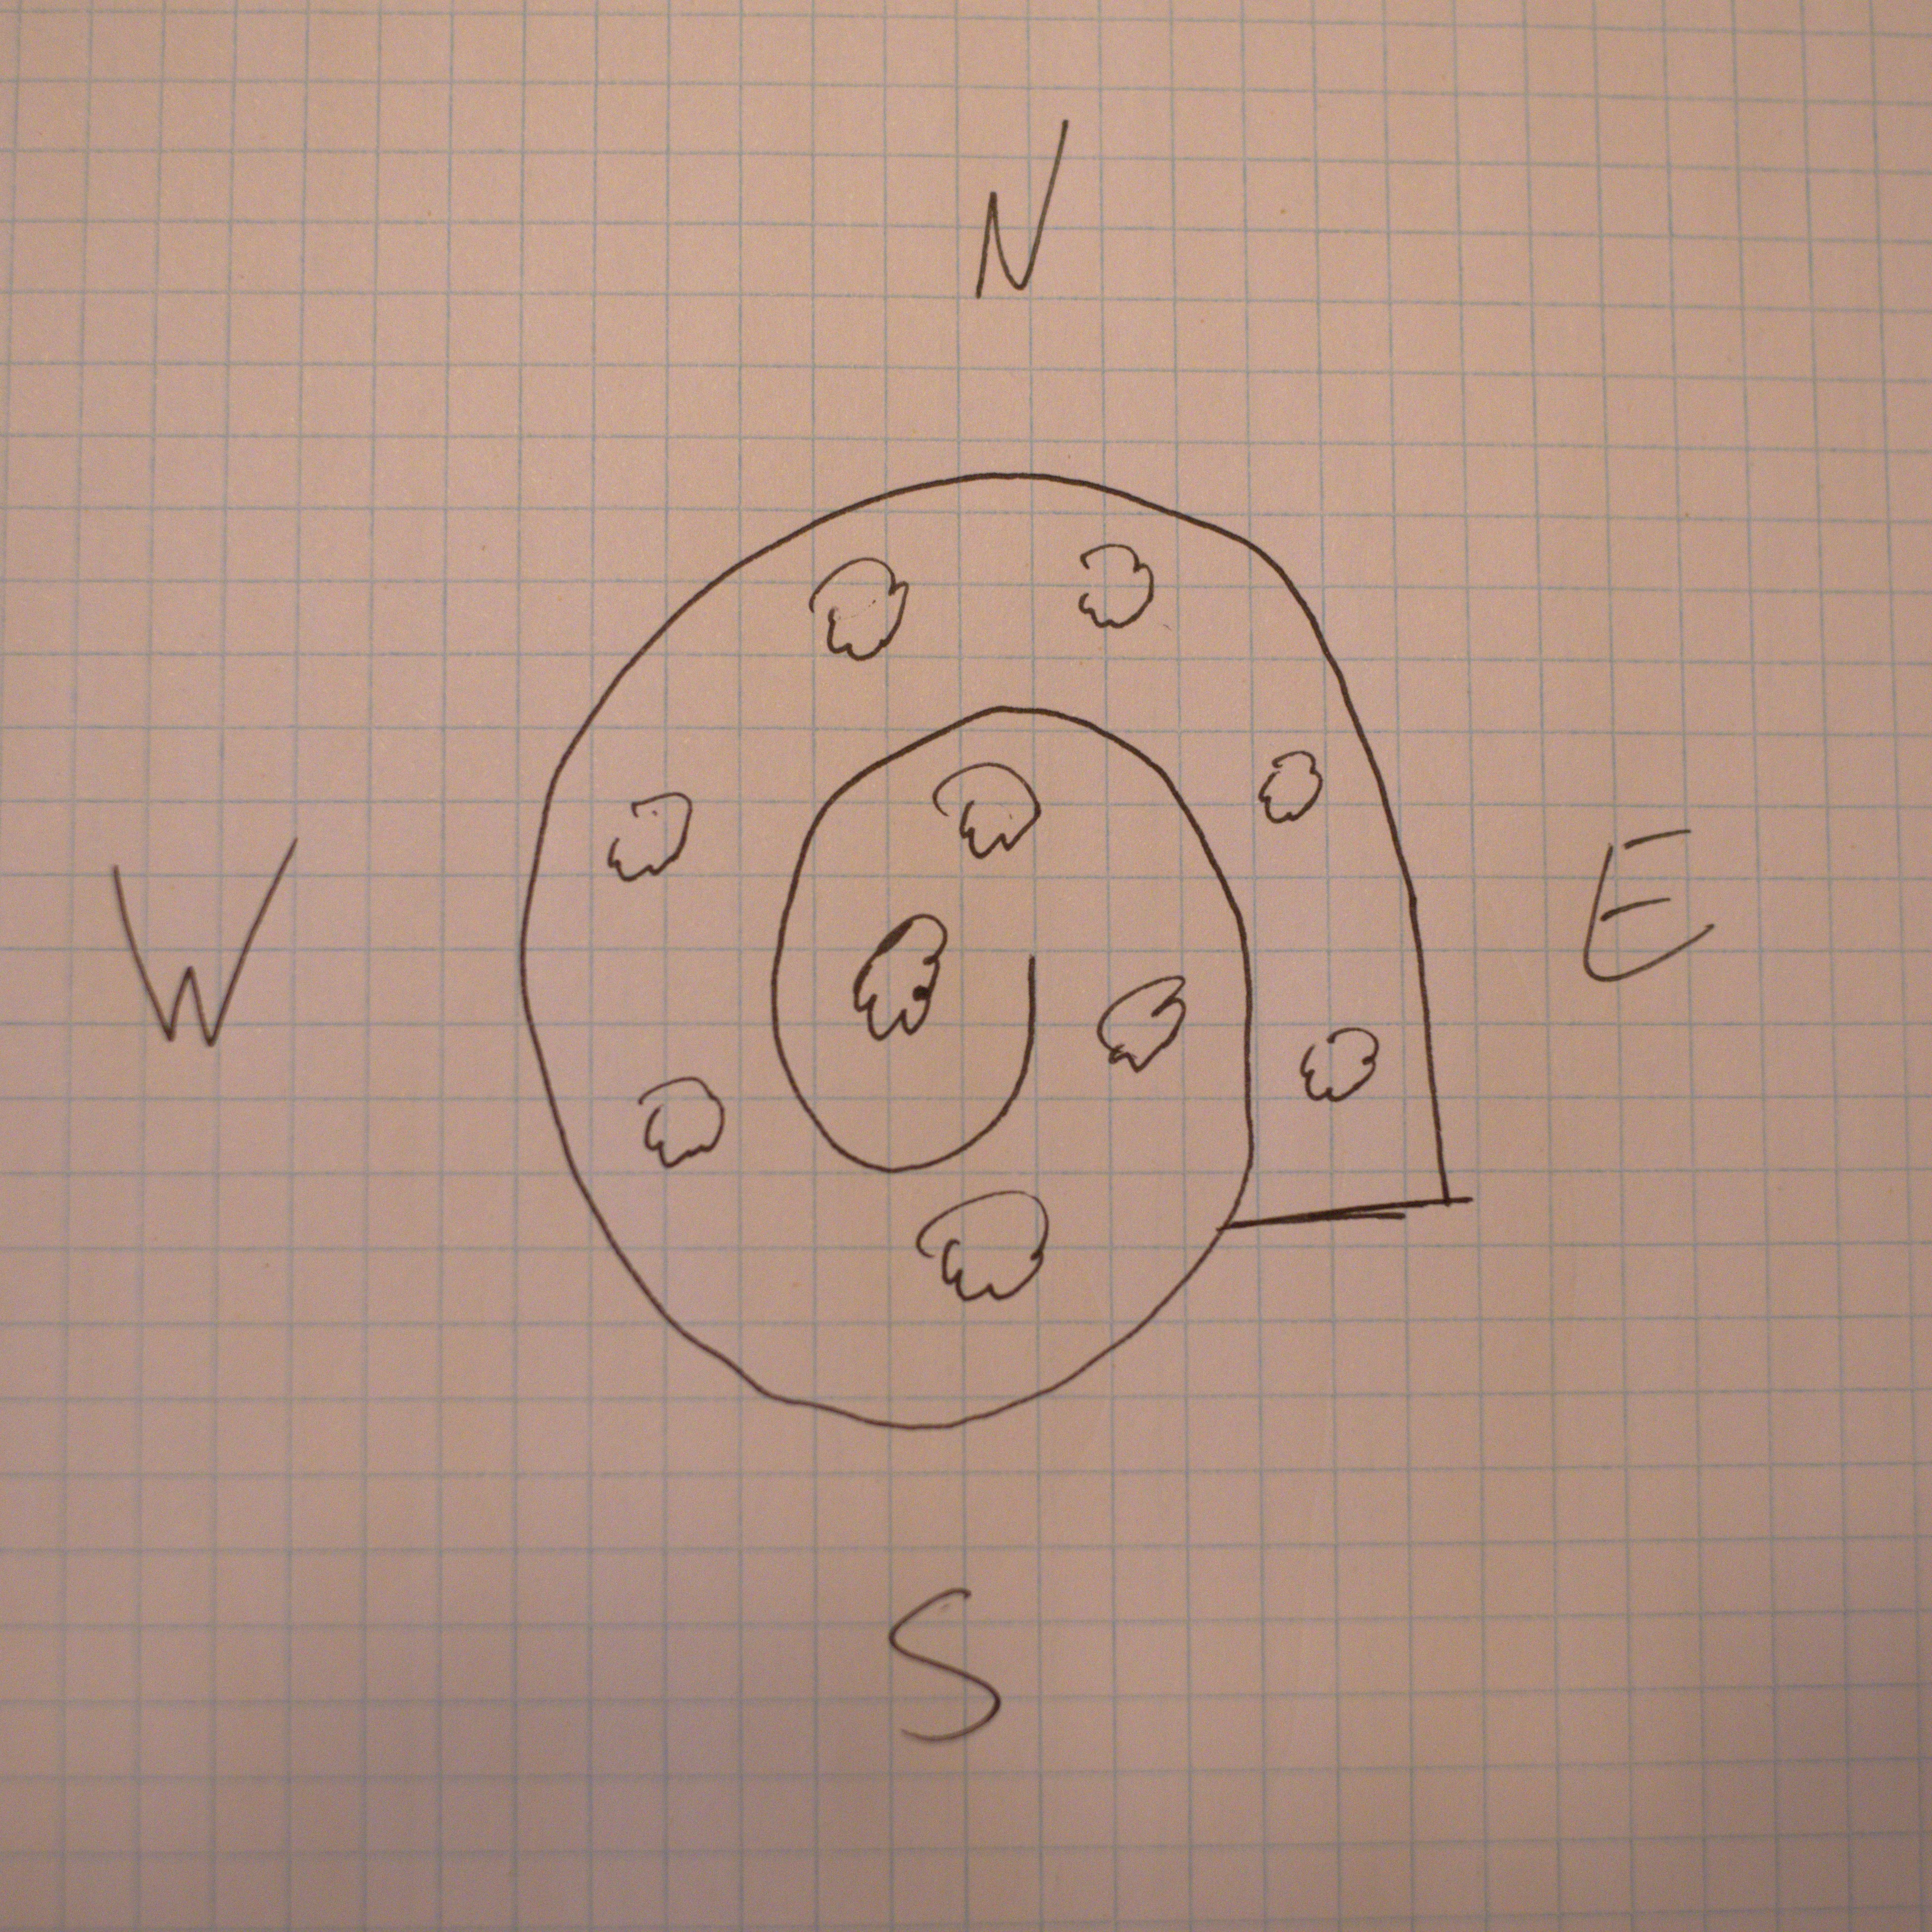
Choose a sunny location—full sun is best, since most herbs originate from Mediterranean climates. The base of the spiral should face south, as shown in the photos below.
Start by marking out the area where the spiral will go, including the general shape and curve. (It helps to build the structure in the fall, so it has time to settle before planting in the spring.) Next, gather your building materials and slowly begin forming the spiral based on your layout. If you’re using stone, place the larger stones at the bottom of the structure, reserving the smaller ones for the top and for filling larger gaps. The fewer gaps there are, the less shifting and settling you’ll experience over time.
As you build the spiral, gradually increase the height so that the center becomes the highest point. If you’re using dry-stacked stone like I did, it helps to fill the center with gravel. This improves drainage for the plants in the center—which is important—and also provides interior support for the stone structure itself.
Once the spiral is built, fill it with potting soil. This is where building in the fall pays off: the soil can settle naturally over winter, and you’ll only need to top it off or adjust the structure slightly in spring. If you build it in the spring, it will still work, but the soil may settle unevenly through the growing season. You can always adjust it at the end of the season to prepare for the next year.
While I haven’t noticed herbs being too picky about their placement in the spiral, there are a few things to keep in mind.
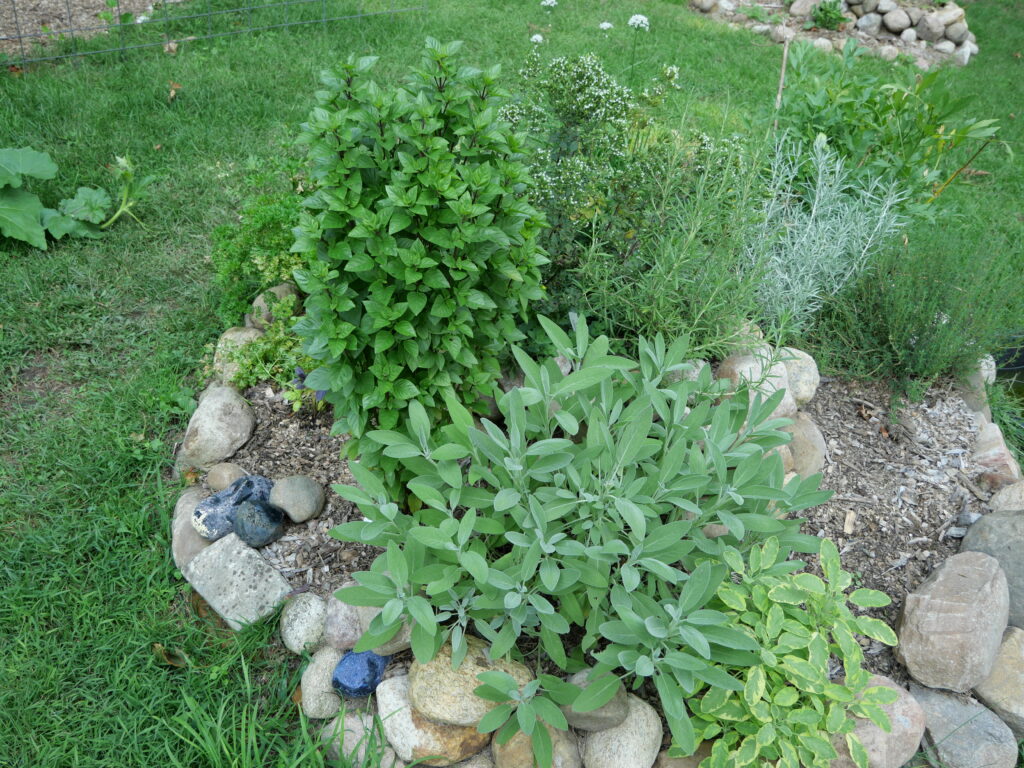
Plant the tallest herbs, or those that prefer less sunlight, on the north (shaded) side of the spiral. I usually plant regular and garlic chives there, and if I have space, I’ll transplant some basil as well.
The lowest point of the spiral is where you’ll want to plant herbs that enjoy more moisture—lovage and tarragon are two of my favorites, and both are fantastic additions to any herb garden. The top of the spiral is reserved for drought-tolerant herbs. This is where the gravel you used during construction really helps, providing excellent drainage for plants like rosemary, curry, oregano, and thyme.
While I haven’t noticed herbs being too picky about their placement in the spiral, there are a few things to keep in mind.
Plant the tallest herbs, or those that prefer less sunlight, on the north (shaded) side of the spiral. I usually plant regular and garlic chives there, and if I have space, I’ll transplant some basil as well.
The lowest point of the spiral is where you’ll want to plant herbs that enjoy more moisture—lovage and tarragon are two of my favorites, and both are fantastic additions to any herb garden. The top of the spiral is reserved for drought-tolerant herbs. This is where the gravel you used during construction really helps, providing excellent drainage for plants like rosemary, curry, oregano, and thyme.
Once everything is planted, all that’s left to do is water and enjoy harvesting your own fresh herbs.