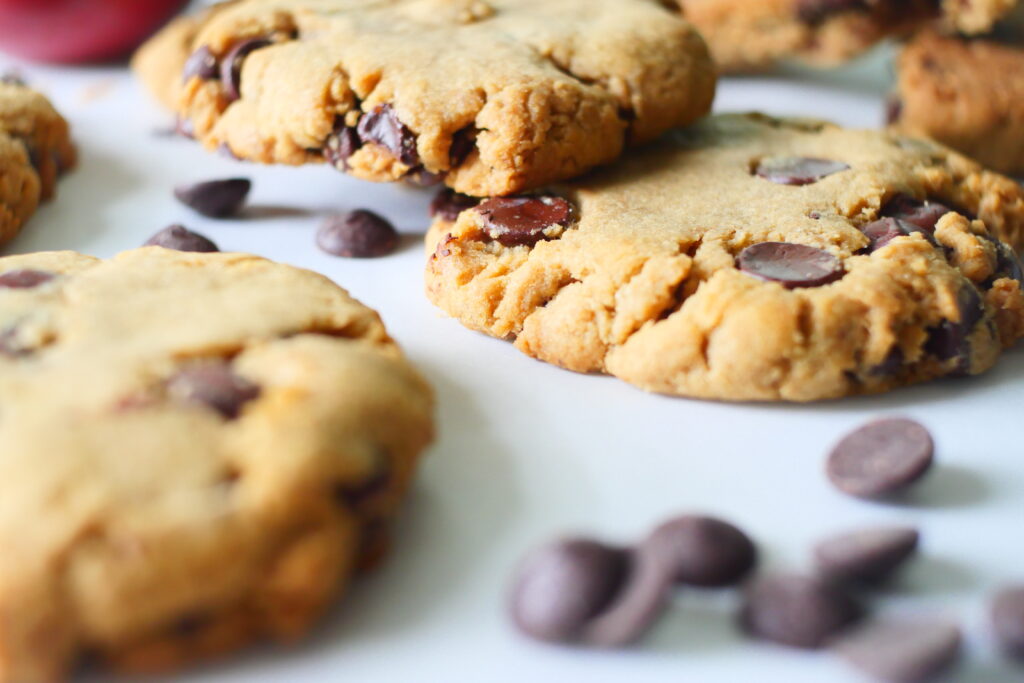

Chocolate Chip Cookies
Course: Dessert Difficulty: Easy4
servings20
minutes30
12
The ultimate soft and chewy chocolate chip cookie recipe—easy to make, rich in flavor, and perfect every time. So good you won't even know they are gluten free!
Ingredients
10 oz butter flavored crisco
1 cup of brown sugar (packed)
1/2 cup of granulated sugar
5.1 oz of vanilla instant pudding mix (large box)
3 1/3 cups of gluten free flour (I used King Arthur's 1:1)
1/2 tbs of baking soda
1/2 tbs of vanilla
3 room temperature eggs
3 cups of Ghirardelli's 60% cacao dark chocolate chips (20 oz package)
Directions
In a stand mixer, combine the Crisco, brown sugar, granulated sugar, and vanilla pudding mix. Mix on low until combined.
In a separate bowl, whisk together the gluten-free flour and baking soda.
With the mixer on low, slowly spoon in the flour mixture until the dough is just combined. Trust the process here—don’t rush it.
Add the eggs one at a time, mixing on low. For ease, you can crack your eggs into a separate bowl and add the vanilla to that bowl before incorporating. Do not whisk the eggs ahead of time—add them in whole to maintain the proper texture and structure of the dough.
Pause the mixer and take a moment to scrape down the sides of the bowl to make sure you have incorporated all the ingredients, scoop up from the bottom once you have.
Add the chocolate chips and mix until evenly distributed.
Let the dough sit for at least 30 minutes to hydrate. While the dough rests, preheat your oven to 350°F and line a baking sheet with parchment paper. Note: Do NOT make the mistake I did the first time and refrigerate this dough. Let it rest at room temperature and then bake immediately following the prescribed rest time or you will get some crumbly cookies!
Using a cookie scoop, portion the dough into small balls and place them in even rows on the baking sheet. Lightly spray the bottom of a glass or burger press and gently flatten each cookie. This step is important—gluten-free cookies won’t spread much on their own.
Bake for 13 minutes and enjoy!
One Final Note
- Gluten free baked goods do not have the same shelf like that their gluten containing counterparts do. In order to keep the best possible texture for your cookies I highly recommend that you freeze the baked cookies that don't get eaten immediately. They are easy to reheat and won't go stale as quickly.