
When we decided to plant our orchard, we spent quite a bit of time considering what type of orchard system to use, for a number of reasons. After weighing the options, we ultimately chose the tall spindle system.
The idea behind this system is to grow tall, narrow trees that are planted densely to maximize yield per acre and minimize the time it takes for the trees to start producing. In some cases, trees can begin producing fruit in as little as three years! We’re planting our trees 3 feet apart within rows, with 14 feet between each row. This layout allows us to fit up to 1,451 trees into the 1.4 acres we’ve designated for the orchard.
Because the trees are planted so closely and will be producing heavy fruit loads, they need support to prevent them from breaking at the graft union1. That’s where the trellis system comes in. We’ll be building ours using timber from trees we’re clearing off the land to make space for the orchard.
The first step is selecting the right logs for the posts. When choosing a log, I look for one that’s fairly straight, about 13 feet long, and around 5–6 inches in diameter. These measurements aren’t exact, but they work well with my post hole digger, which is 3 feet long and 8 inches wide—leaving enough room for me to compact the soil around each post once it’s set.
Once the logs are cut to length, the next step is to remove the bark before charring them. This can be done easily using a drawknife or a machete.
Pro tip: It’s much easier to strip bark from logs that were cut in the spring. The rising sap makes it easier to peel off the outer layer cleanly.
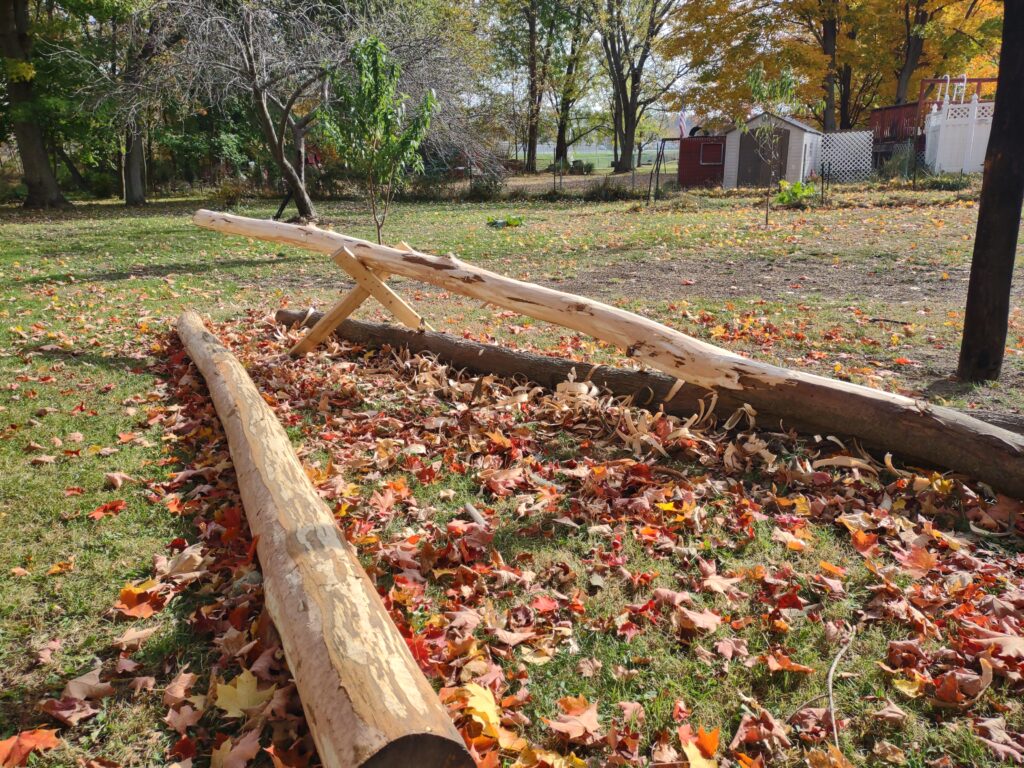
Pro tip: Elevating the logs off of the ground (you can use 2X4’s as shown in the picture above) will keep you from having to bend over for long periods, putting less stress on your back.
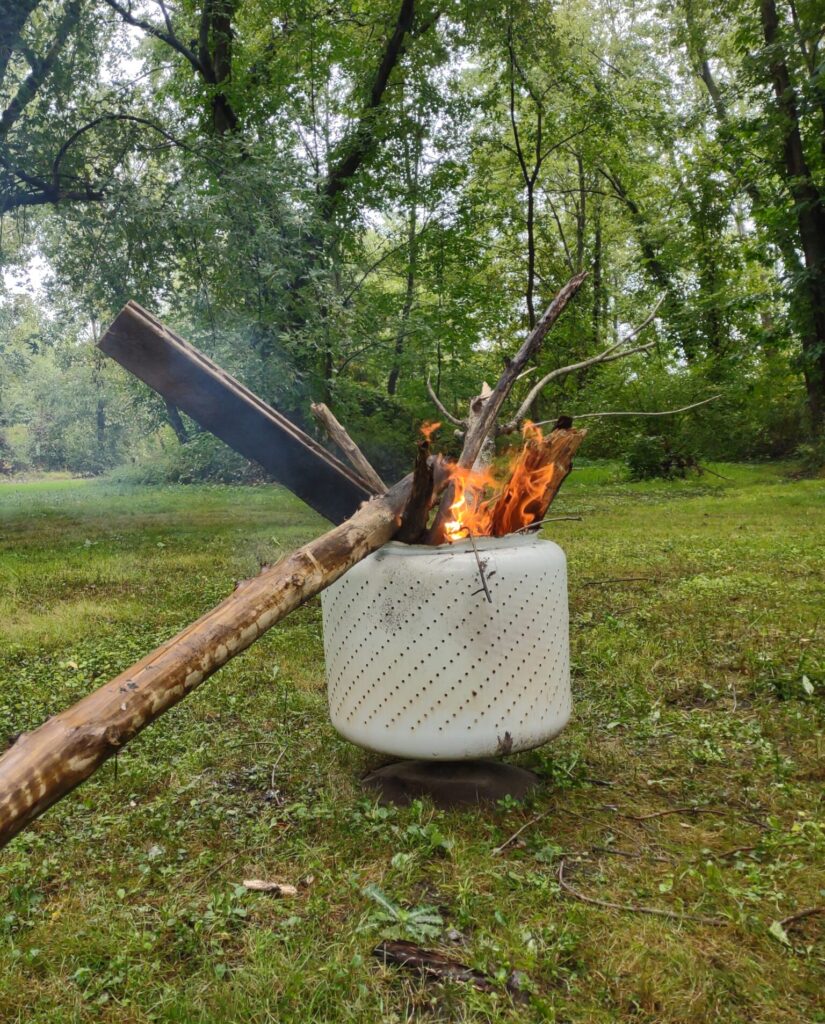
Once the bark has been stripped from the logs, the next step is to char them. Charring helps protect the wood, especially since the posts will be buried directly in the ground.
While burning a log might sound simple in theory, we’ve gone through a few iterations to figure out the most effective method. Our first attempt involved using a burn barrel made from an old washing machine tub. While it worked great for burning brush, the height of the barrel made it difficult to maneuver the logs and get an even char along the entire post.
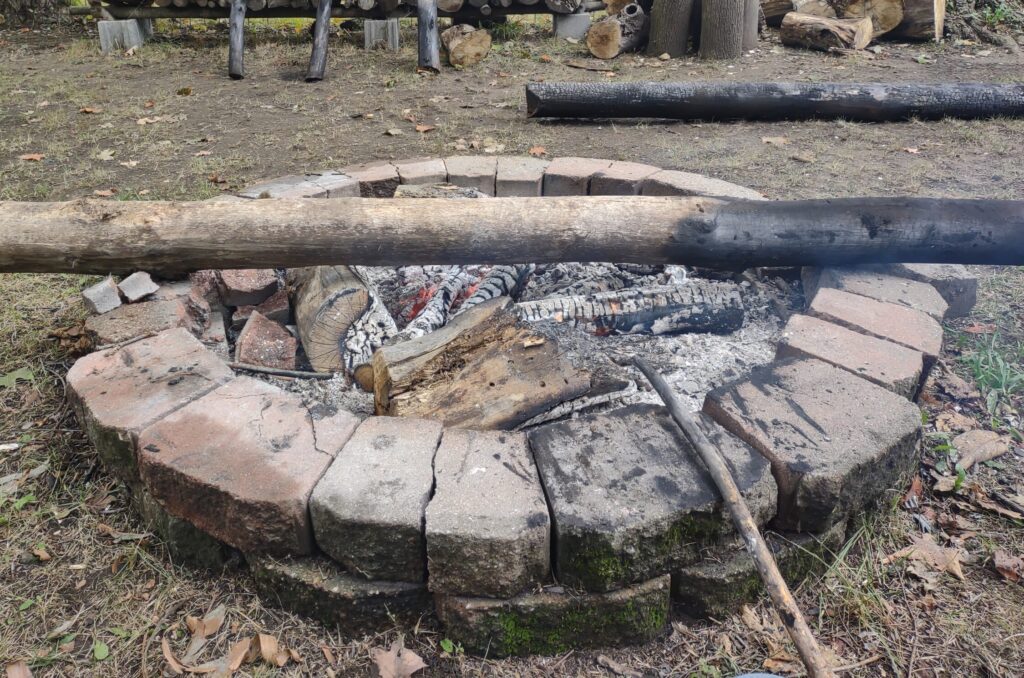
We ended up hauling the logs over to our firepit to char them. This setup allowed us to keep the logs much lower to the ground and set them on two unsplit rounds of firewood, which made it easy to roll the logs back and forth for better control of the charring process.
Once the posts are charred, they’re ready to be set. We use a posthole digger that makes this job much easier—it digs an 8-inch diameter hole about 4 feet deep, which is more than enough to prevent frost heave here in Northeast Ohio.
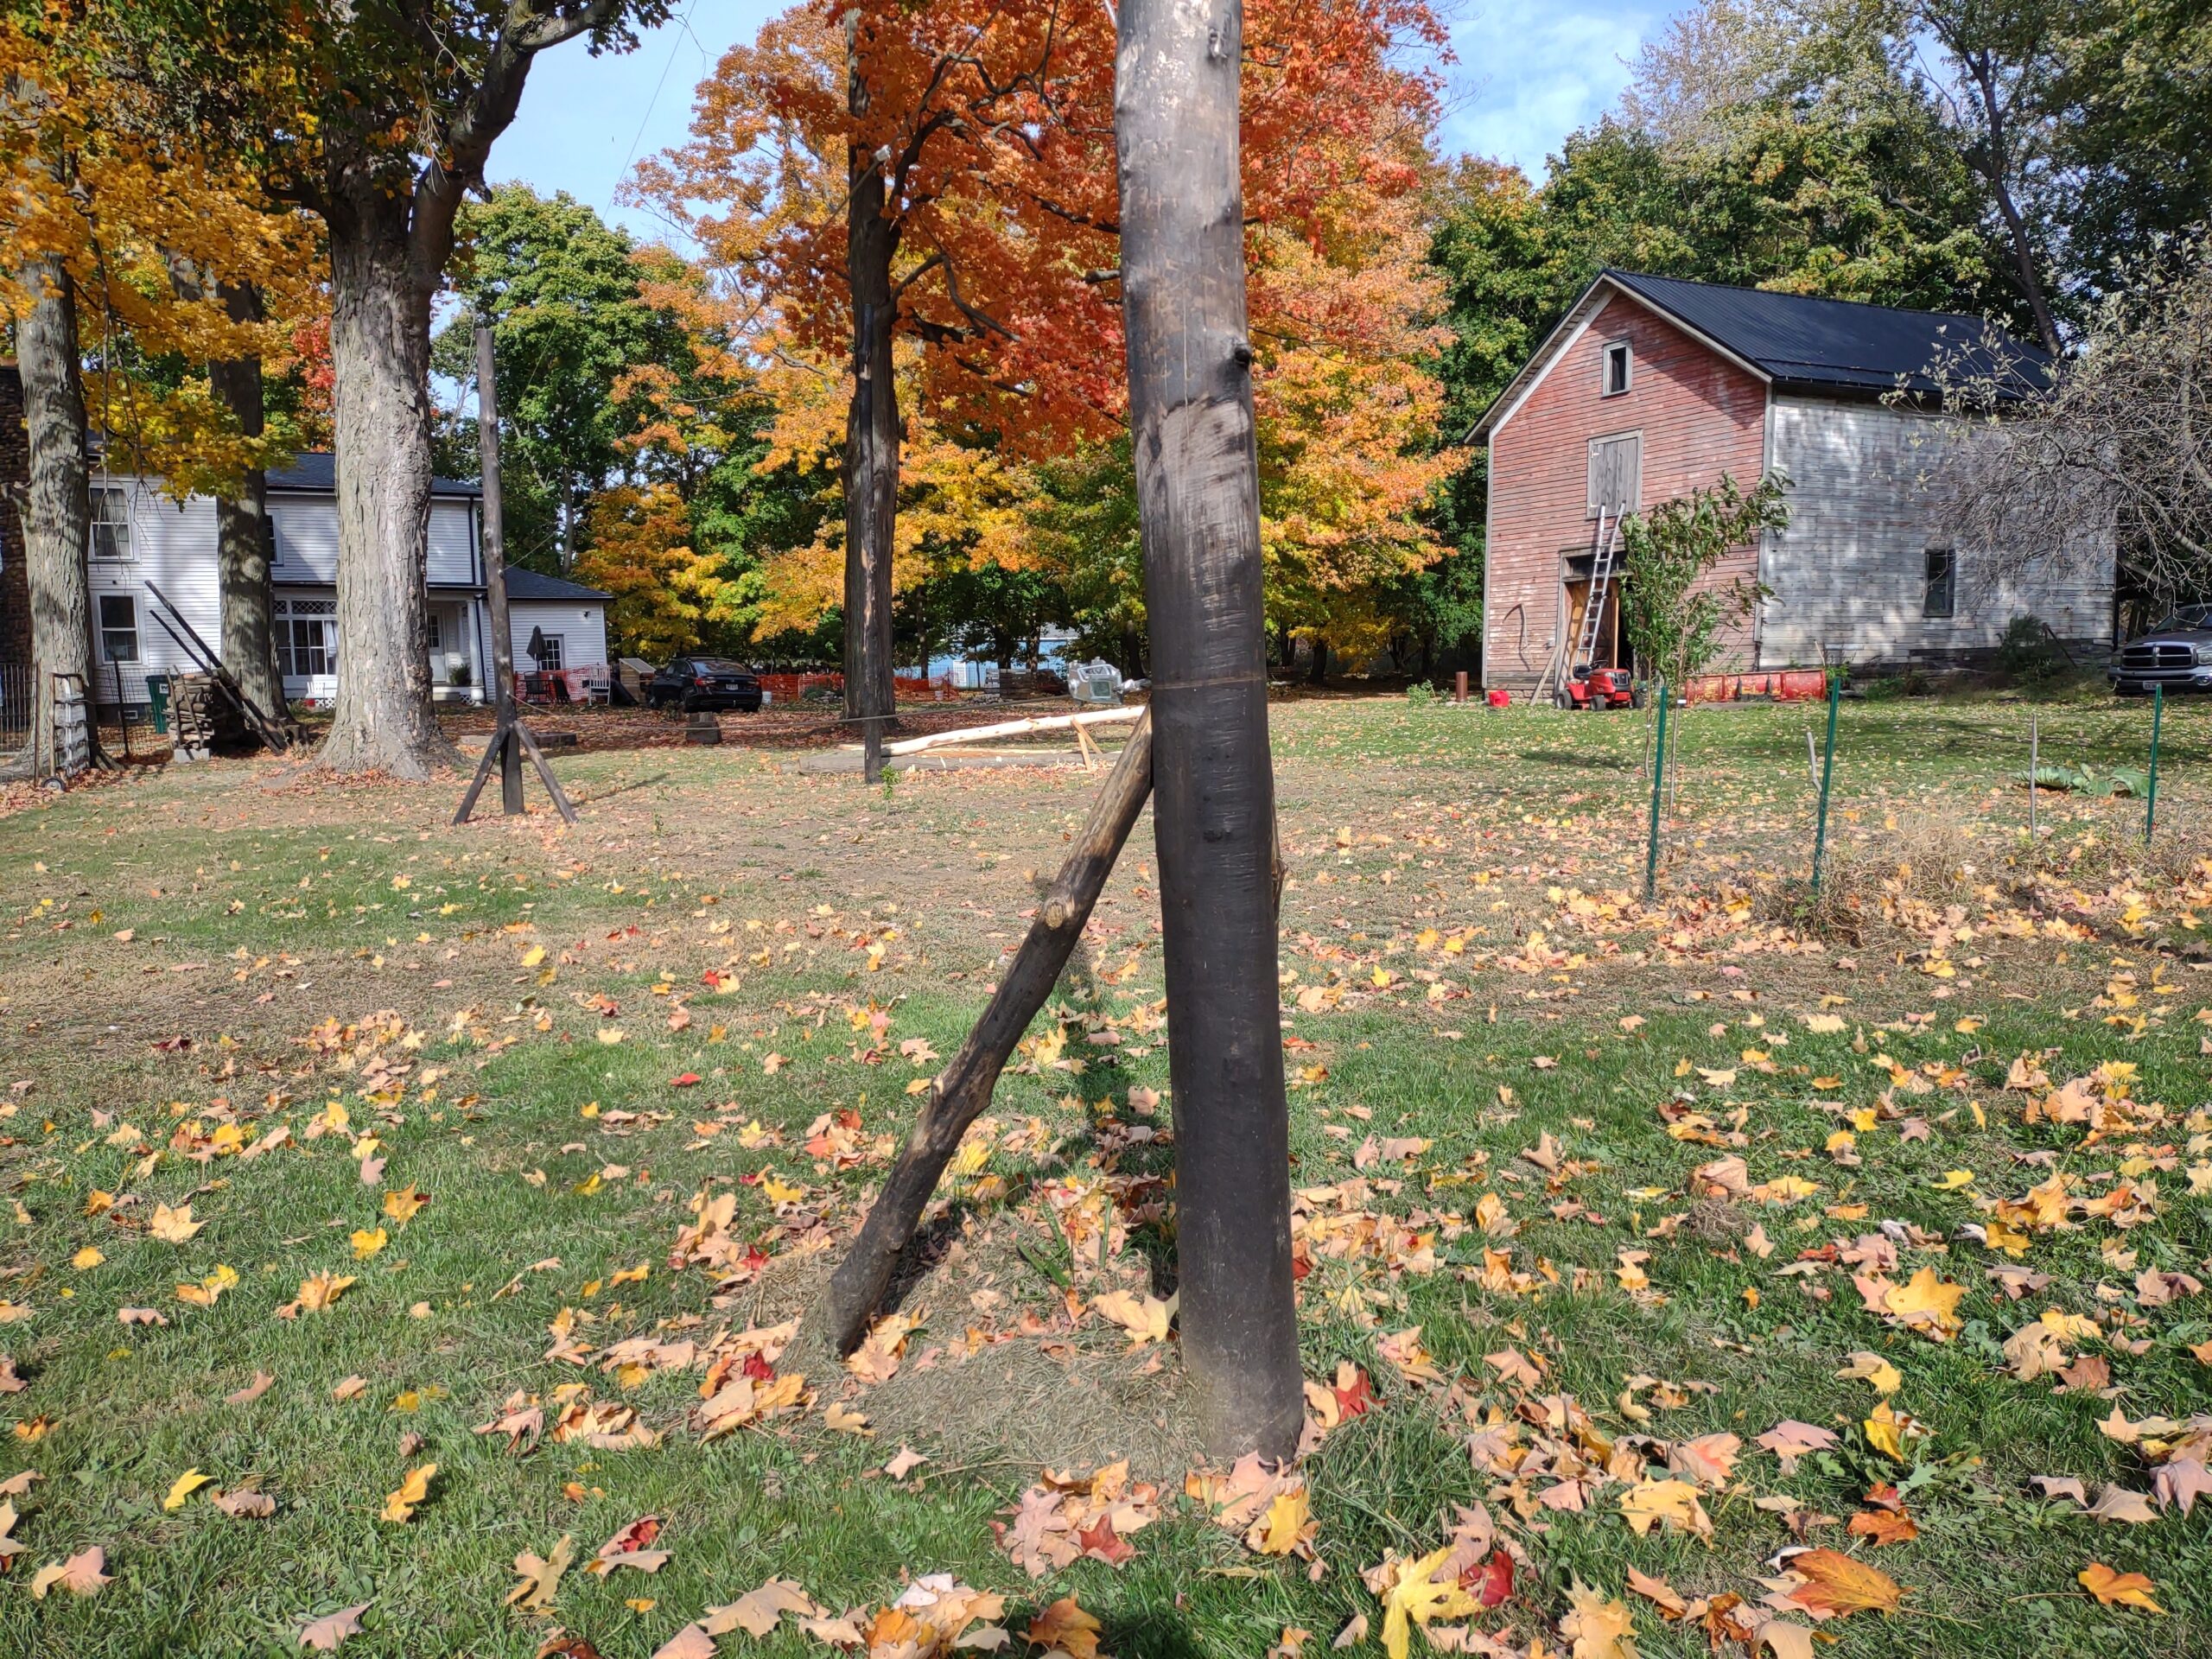
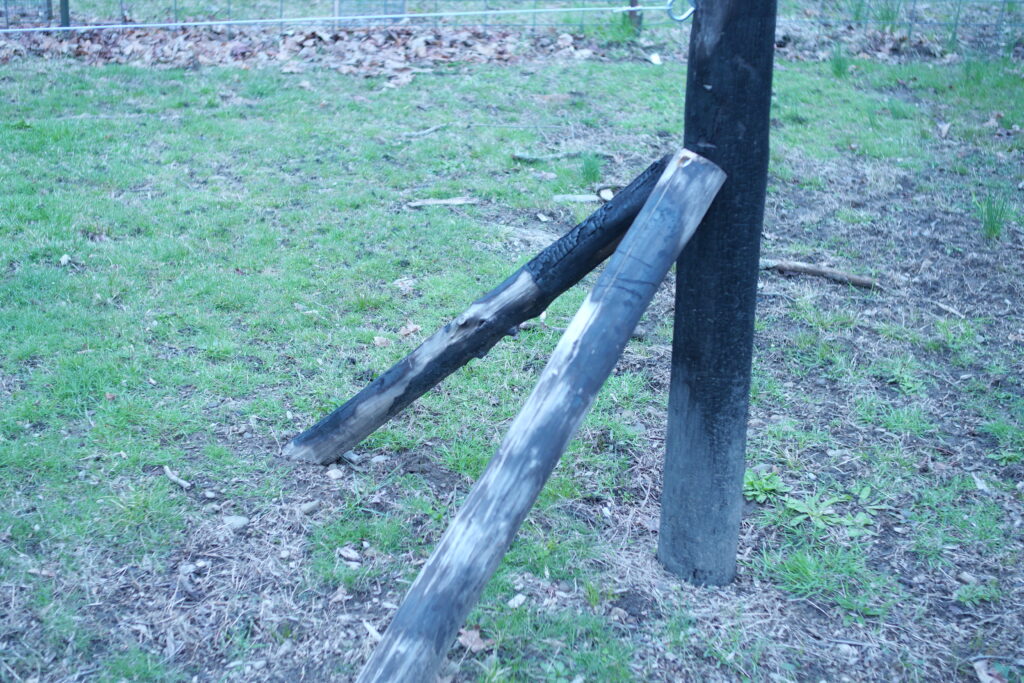
Be sure to brace your end posts to prevent the wire tension from pulling them inward (we learned this the hard way on our first trellis!). We solved this by using two smaller logs, lag-bolted to the end post at about 45° angles, as you can see in the photo below.
Next, we installed the wire and wire tensioners. Every 3 feet up the trellis, we installed an eye screw—giving us wires at the 3-, 6-, and 9-foot marks. For the actual wire, we used 2/0 galvanized electric fence wire.
Start by making an eye splice around the eye screw on one end, and leave the other end slightly longer than you think you’ll need—it’s easy to trim it down later before installing the tensioner.
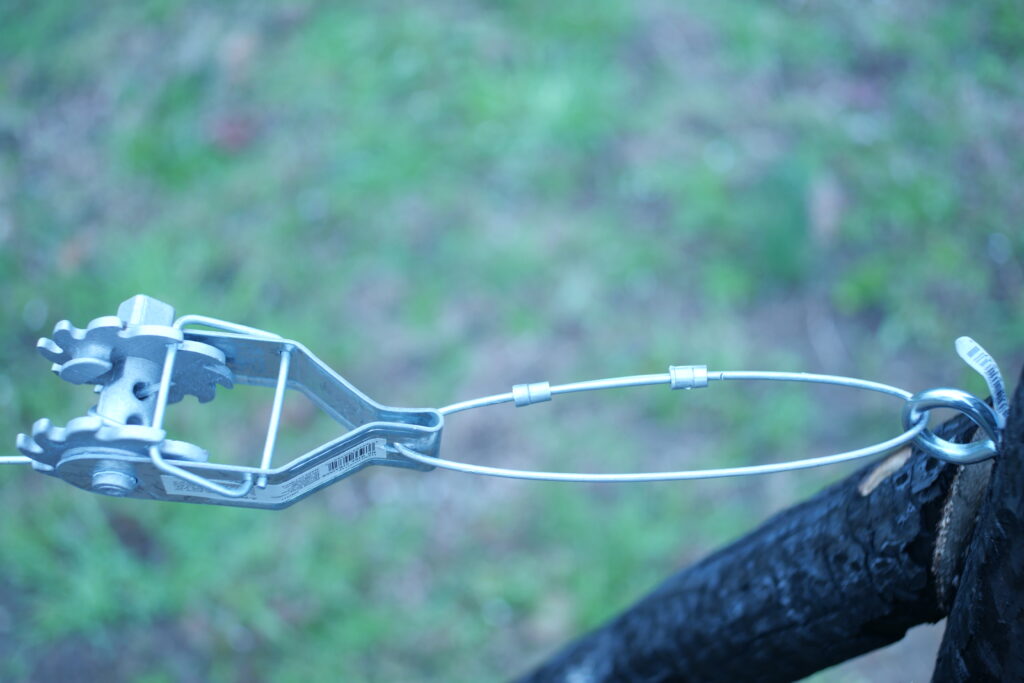
To attach the tensioner, cut an 8-inch piece of fence wire, bend both ends, slide the tensioner onto one end, and pass the wire through the open eye screw. Then, crimp the loose ends together to secure it. We’ve found that ratcheting-style electric fence tensioners work really well for this—they offer a lot more adjustment than the turnbuckle-style ones.
Once the tensioner is attached to the eye screw, all that’s left is to grab the loose end of the wire (the one you spliced earlier on the opposite side) and feed it into the tensioner. Note: If you’re using a turnbuckle-style tensioner instead, you’ll need to make an eye splice on this end as well.
Once all the wires have been added to the trellis system, you can begin tightening the tensioners. Start at the top and work your way down. You want to apply about 200 pounds of pressure—tight enough to support the trees, but not so tight that you risk pulling the posts out of the ground.
The final step is planting your trees and giving each one a support stake to tie it to. Avoid tying trees directly to the trellis wires—doing so can cause the wire to bite into the bark as the trees grow, leading to damage and increasing the risk of disease. Just about any 10-foot-long stake will work: bamboo, hazel, or similar. We opted to cut our own ½-inch by ½-inch stakes on the sawmill to save money.
And that’s it. The trees are in, the trellis is up, and now comes the waiting game. Keep your trees pruned, give them the care they need, and before you know it—just a few seasons down the road—you’ll be enjoying the first fruits of your labor.
Footnotes
- Graft Union – The graft union is the point where the rootstock (the lower portion of the tree that provides the root system) and the scion (the upper portion that produces the fruit) are joined together. This area is structurally weaker than the rest of the tree, especially in young trees, and is prone to breakage if not supported properly—particularly in high-density planting systems like the tall spindle. Proper support from a trellis or stake is essential to protect the graft union and ensure healthy tree growth.
Leave a Reply